The Science of Gardening
The Microscope
Exploring science involves studying the world at all sizes– from the vast universe with planets and stars, down to the tiny building blocks that make up things around us. To help us see and learn about things at a smaller scale, biologists and botanists use a microscope.
This section is a bit more advanced, but our younger readers can also learn; we recommend some help from an adult, though. Also, it will help to have access to a microscope so you can try this hands-on.
If you do not have your own microscope, you may be able to borrow one from your science teacher at school, or find out if a friend might have one you can use.
What’s in a microscope?
In order to learn how to use the microscope, let’s first learn what the different parts are, and what they do.
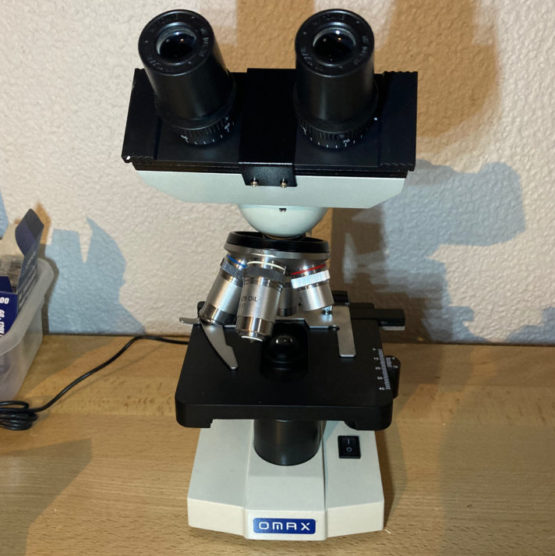
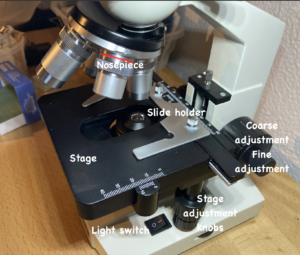
- Eyepiece: at the top of the microscope there will be either one or two eyepieces. This is where you look to see the enlarged image of your slide
- Stage: this is where you place your slide, which is holding whatever you are trying to see magnified. There are knobs attached to the side of the stage that move it front-to-back and side-to-side.
- Nosepiece: this is the middle portion that has different sized magnification pieces attached. It rotates in a circle to switch from one level of magnification to another
- Light: shines up through your slide so you can see what’s on it
- Coarse adjustment and fine adjustment knobs: on the side, these help you focus on your slide. Course adjustment is used first and on the lowest magnification, and then fine adjustment (the smaller know)
Some terms to know:
Magnification:
Making something appear larger. Have you ever used a magnifying glass to see tiny print?
Slide:
A piece of glass on which you place the object you are trying to view through the microscope
Specimen:
What you are trying to look at, whether it’s a piece of a stem, piece of leaf, part of an insect or something else
Cover slip:
A smaller, thinner piece of glass that covers the top of the specimen on the slide
Using the eyepieces:
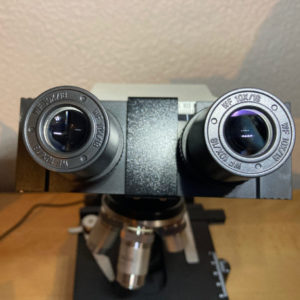
If your microscope has only one eyepiece, you just choose your preferred eye, close your other eye, and view through it.
If there are two eyepieces, it works best to view with both eyes. Look down into the eyepieces, and then adjust the space between them until you can easily look into the microscope and see a single image, the field of view. If you are struggling with this at first, you can also just close one eye and look through only one of the eyepieces.
What are we going to look at?
There are many things you can view through the microscope. There is one guideline, though, that will help make viewing easiest: make sure the specimen you are putting onto the slide is small and thin. If it is too thick, you will end up having a harder time making a good slide, and also a harder time viewing it.
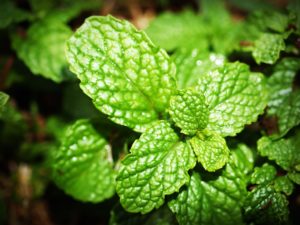
Let’s start out by finding a plant leaf. We will need a very tiny piece cut from the leaf’s edge.
Before we get to see our leaf up close, we still must cover a few more basics…
Rules for the Microscope
- Never touch the lenses. This includes the eyepiece(s), nosepieces, stage and light. Fingerprints, dust and dirt will make cloudy or dim images, and can also scratch and permanently damage the lenses. If you need to clean them, use lens paper, a lint-free, non-abrasive substance specifically for delicate lenses in cameras and microscopes
- When you are done with the microscope, always turn off the light and lower the stage completely. It is also good practice to rotate the nosepiece back to the lowest power.
- Never touch the flat surfaces of the slides or cover slips. Try to only handle them by the sides, to avoid fingerprints, skin cells and other contaminants from interfering with the view of your specimen.
Now that we’ve covered those, it is time to make a slide!
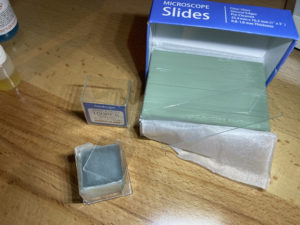
Preparing Microscope Slides
You will need a clean slide, a cover slip, a dropper, some clean water, and a specimen to look at.
If you are cutting a piece of plant leaf or stem, you may need an adult help you to get a very thin section (it may be easiest for them to use a small knife or razor blade to slice or scrape a small bit).
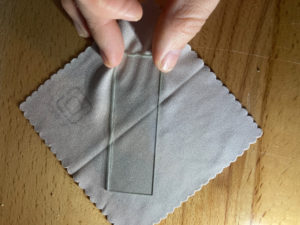
- Place your slide carefully on a clean, dry surface, making sure to handle it by the edge (or far end) and not touch the middle section
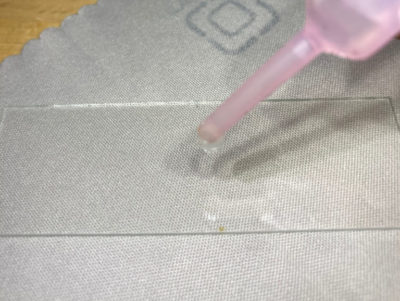
2. Using a dropper, place a drop of water in the center of the slide.
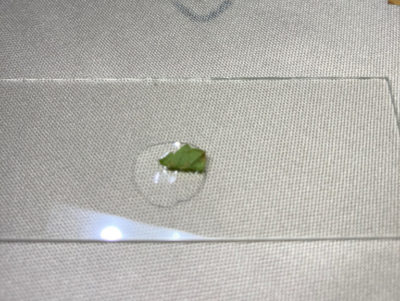
3. Place your specimen in the middle of the water droplet.
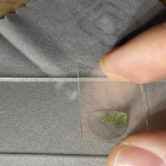
4. Handling only the edges of the cover slip, hold it at an angle next to the droplet, and then carefully lower it over your specimen. This will avoid most air bubbles from getting trapped.

Looking at your slide:
Now it is time to look at your slide under the microscope!
- Pick up your slide using the edges or very end. Open the slide holder by pushing the clip outward, and place the slide into its spot. Then release the clip so it holds the slide securely.
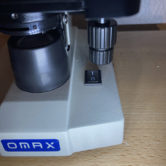
2. Turn on the microscope power switch so the light comes on.

3. Use the stage adjustment knobs to move the slide so that the specimen is in the center of the light.
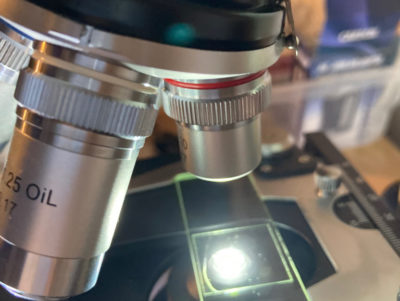
4. Now set the nose piece to the lowest setting (shortest lens, usually has a red stripe on it).
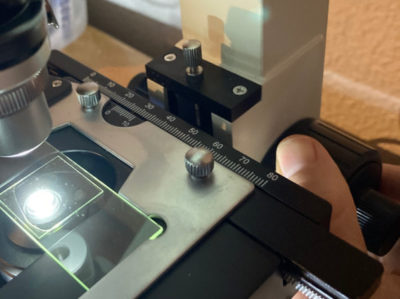
5. Look through the eyepiece, and then adjust the coarse adjustment knob (larger one) until the specimen comes into focus.
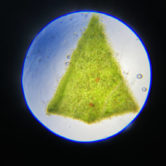
6. Once you have the specimen in focus on the lowest setting…
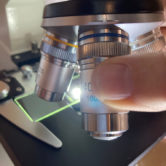
…you can carefully rotate the nosepiece to the next power up.
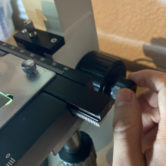
7. You can now use the fine adjustment knob to bring the image into focus.
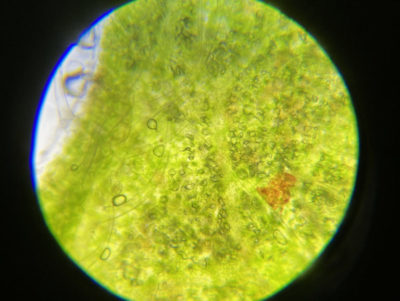
Your specimen will now be in higher magnification.
8. You can now repeat the steps above by rotating the nosepiece into the next position up, and then using the find adjustment again.
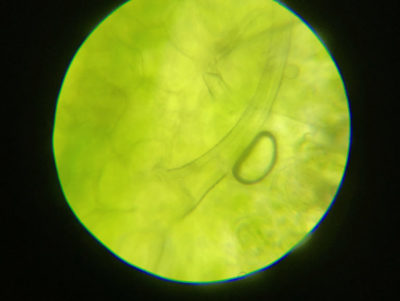
Your specimen will magnify even more once you have it in focus.
This specimen was (technically) a little too thick to get a clean view through, but you can see that there is a highly-magnified leaf hair on the surface (and a tiny bubble)
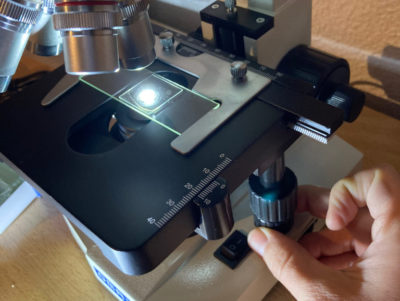
To look at other parts of your specimen, you can move the stage around, side to side and front to back. Look all along the edges, and through the middle
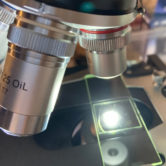
What’s that fourth nosepiece setting for?
The highest magnification setting on the microscope requires a technique known as “oil immersion”. If you need to magnify to that setting, you will need to:
- Rotate the high-power lens partway to the oil immersion setting and off of the specimen.
- Place a drop of immersion oil (this isn’t just any oil, but is specific to microscopes and is very thick) on top of the cover slip and over the specimen.
- Rotate the oil immersion lens over the specimen, into the raised droplet of oil
- Now you can view the specimen on highest power.
You will have to clean the oil off of the nosepiece using lens paper when you are done.
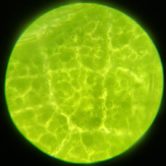
What else can we look at?
If you followed the steps above using a piece of a plant leaf, can you now think of any other things you could look at, while practicing your microscope technique? How about…
- A piece of human hair?
- A shed piece of dog or cat fur?
- Some dust?
- A piece of a dead insect’s leg, wing or antenna?
- A droplet of pond, lake or aquarium water?
Once you are done using the microscope…
Remember some of our rules above. Here’s a good checklist for you:
- Turn off the light
- Remove the slide
- Lower the stage all the way
- Rotate the nosepiece to the lowest setting
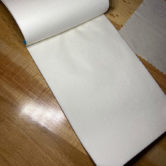
- Clean any dust or dirt off the eyepieces or lenses using lens paper (shown)
- Unplug the cord
- Cover with dust cover
- Put away, wherever it belongs
